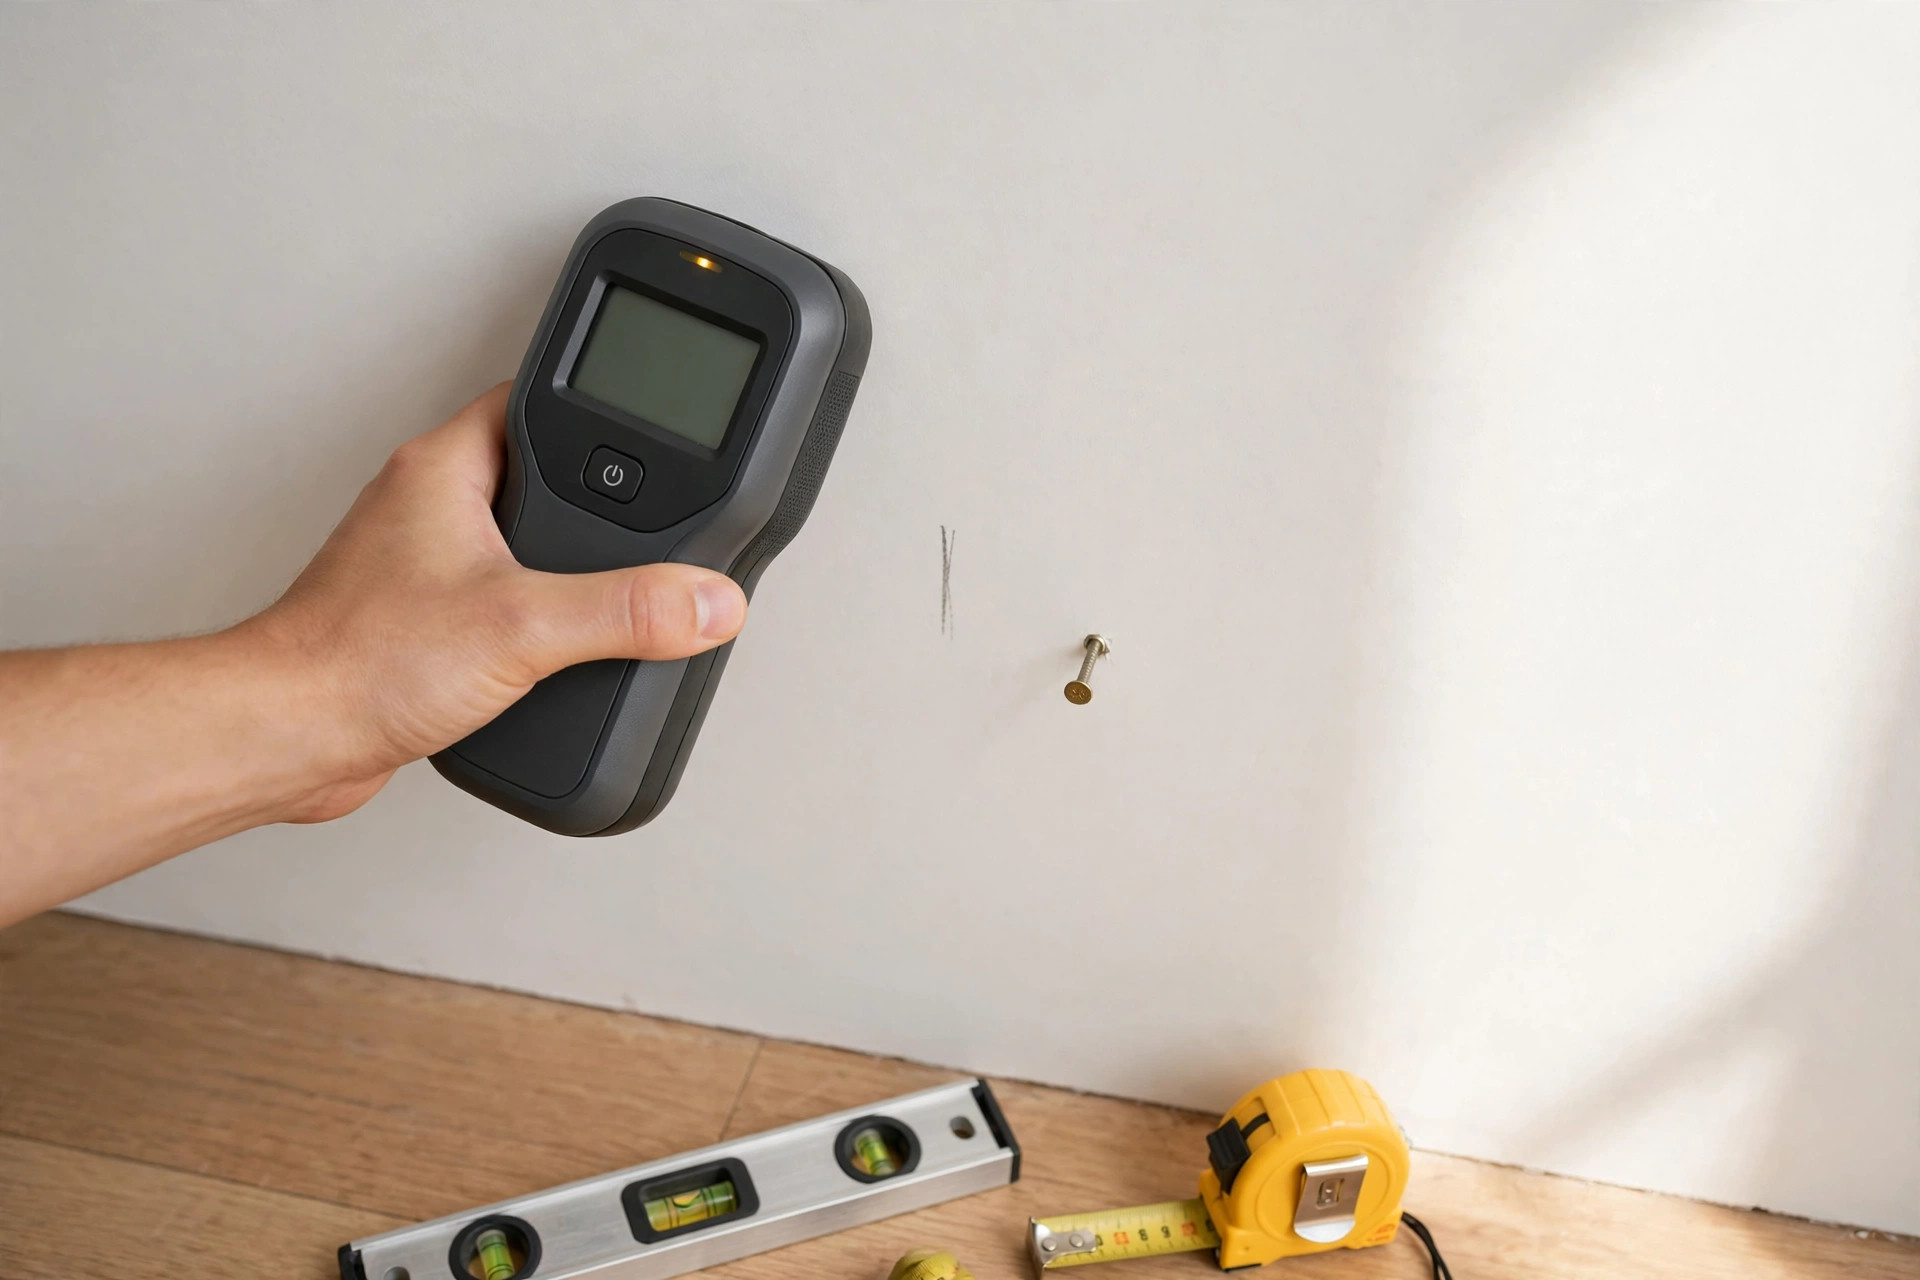
Every new homeowner learns the same lesson, usually with a shelf on the floor: a screw in bare drywall holds about as much as a wish. Studs — the vertical framing members behind the wall, usually spaced 16 inches apart — are what actually carry weight. A stud finder locates them without a fistful of exploratory holes, and a decent one costs less than the drywall repair from guessing wrong. This guide covers how the different sensor types work, where they fail, and five picks for buyers, renters, and new homeowners.
Last updated: October 30, 2026 · Prices and availability checked October 2026.
Inspected Home Buyer is reader-supported. When you buy through links on our site, we may earn an affiliate commission.
- Franklin Sensors ProSensor M210 — Best overall
- Zircon StudSensor HD55 — Best budget
- Zircon MultiScanner i520 — Best for avoiding wires and pipes
- Walabot DIY 2 — Best wall scanner
- CH Hanson magnetic stud finder — Cheapest that works
| Stud finder | Our take | Price |
|---|---|---|
| Franklin Sensors ProSensor M210 | Best overall | Check price → |
| Zircon StudSensor HD55 | Best budget | Check price → |
| Zircon MultiScanner i520 | Best for avoiding wires and pipes | Check price → |
| Walabot DIY 2 | Best wall scanner | Check price → |
| CH Hanson magnetic stud finder | Cheapest that works | Check price → |
Why a buyer needs one before the first picture goes up
Most of what a new homeowner hangs in the first month — a TV mount, floating shelves, a bathroom grab bar, a heavy mirror, a baby gate — needs a stud. Drywall alone holds a picture frame; it does not hold a 55-inch TV, no matter what the anchor packaging promises. Anchors are a backup plan, not a mounting strategy, and a TV that pulls out takes a chunk of wall with it.
A stud finder also earns its keep before closing. At a showing, it tells you what the walls are made of: consistent 16-inch spacing says standard wood framing; erratic readings or no readings at all can mean plaster over lath, metal studs, or masonry — all of which change how you will hang things and, in the case of plaster, how carefully you should drill. That is useful context to hand your inspector, alongside readings from a moisture meter and an infrared thermometer.
How stud finders work — and why cheap ones lie
Electronic density sensors are the common type. They measure how dense the wall is beneath them; a stud reads denser than the hollow cavity beside it. The classic single-sensor design finds one edge of the stud, so you scan from both directions and mark both edges to find the center. Two-sensor and multi-sensor designs (like the Franklin below) sense the whole stud width at once, which is faster and less error-prone.
Magnetic finders do not sense wood at all. They sense the screws or nails holding the drywall to the stud. They never need batteries, never need calibration, and never give a false reading from a dense patch of plaster — but they only work where fasteners exist, and finding one screw tells you a stud is somewhere nearby, not exactly where its edges are.
Wall scanners use radar or similar imaging to build a picture of what is inside the wall: studs, pipes, and wires. They are the most informative and the most expensive, and they need a phone to display the image. For most buyers they are overkill; for anyone drilling into a bathroom or kitchen wall full of plumbing, they are the only type that shows what to avoid.
Every electronic finder shares one weakness: calibration. Most calibrate when you press them flat against the wall and hold still. Calibrate over a stud and the whole scan is wrong. Calibrate on a flat, empty stretch of wall, scan slowly, and re-scan from the other direction. A finder that beeps everywhere is usually a calibration problem, not a wall full of studs.
The specs that actually matter
Depth: standard drywall is 1/2 inch, so a 3/4-inch or 1-inch scan depth covers most walls. Thicker walls — double drywall for soundproofing, plaster over lath, tile backer board — need a deep-scan mode (1-1/2 inches or more). If your house is pre-1960s plaster, buy for depth first.
Edge vs. center indication: single-sensor finders mark edges; you do the math. Multi-sensor finders light up the full stud and mark the center directly. If you hang things rarely, the simpler tool plus patience is fine. If you hang a lot, center-finding saves real frustration.
Live-wire and metal detection: a finder that warns about AC wiring and metal pipes is worth paying for if you drill near kitchens, bathrooms, or electrical panels. No finder replaces caution — always check both sides of the wall when you can — but a wire warning has saved many drill bits and a few shocks.
Wall type: plaster and lath defeats most electronic finders because the lath itself reads as dense wood everywhere. On plaster walls, a magnetic finder (which finds the fasteners) is often the more reliable tool, and a wall scanner is the premium answer. Metal studs also confuse density sensors; a magnetic finder will not find them at all, since the screws are in the metal stud itself — a scanner or a dedicated metal mode is the way.
The picks
Best overall: Franklin Sensors ProSensor M210
The M210 uses thirteen sensors across its face, so it shows the full width of the stud and its center in one pass — no scan-from-both-sides ritual, no guessing where the edges are. It is the easiest finder to trust for someone who hangs things a few times a year, and it handles thicker walls better than most single-sensor designs. Check price on Amazon →
Best budget: Zircon StudSensor HD55
The classic single-sensor finder, and still the right buy for most people. It finds stud edges reliably on standard drywall, it is cheap enough to keep in the junk drawer, and its simplicity is a feature: press, calibrate on an empty stretch, scan slowly, mark the edge, scan back, mark the other edge, drill the middle. Check price on Amazon →
Best for avoiding wires and pipes: Zircon MultiScanner i520
The multi-mode pick: stud mode, deep-scan mode for thicker walls, plus metal and live-AC-wire detection. If your project is a TV mount on a wall shared with a bathroom, or a shelf above a kitchen counter, the wire warning is the feature that matters — it tells you where not to drill, which is half the job. Check price on Amazon →
Best wall scanner: Walabot DIY 2
A radar scanner that pairs with your phone and shows a live image of studs, pipes, and wires inside the wall. It is the most informative option and the priciest, and it makes sense for older homes, plaster walls, and anyone who drills into walls regularly. It is overkill for hanging one picture; it is the right tool for a bathroom remodel. Check price on Amazon →
Cheapest that works: CH Hanson magnetic stud finder
No batteries, no calibration, nothing to break: a strong magnet that sticks to the drywall screws. Slide it slowly across the wall and it catches on each fastener, marking the stud line. It is slow for a whole room, but it is nearly foolproof on plaster walls where electronic finders struggle, and it costs less than a coffee. Keep one even if you own an electronic finder — it is the tiebreaker when the electronics disagree with themselves. Check price on Amazon →
How to find a stud without making Swiss cheese
Start on a flat, empty stretch of wall and calibrate there, holding the finder still until it signals ready. Scan slowly — about an inch per second — in a straight horizontal line at the height you plan to drill. Mark the first edge, then scan back from the other side and mark the second edge; the center is between them. Then verify: studs usually run every 16 inches, so measure 16 inches from your mark and scan again — a second stud there confirms the first. If the spacing comes out at 24 inches, that is normal in some newer framing and in non-load-bearing walls; if it comes out random, suspect plaster, blocking, or a previous repair.
Before drilling, check the other side of the wall if you can, and think about what runs inside it: bathroom and kitchen walls hide supply lines and drains, walls near panels hide wiring. A stud finder with wire detection helps; a scanner helps more; neither replaces thinking about the room on the other side.
Common mistakes: calibrating over a stud (the classic false-everywhere scan), scanning too fast, trusting a single reading without the 16-inch check, and drilling into a "stud" that is actually a horizontal fire block or a pipe strap. When two methods disagree — electronic says here, magnetic says six inches over — trust the magnetic reading and re-scan.
After closing: the finder joins the kit
Pair it with the rest of a basic homeowner diagnostic set: a moisture meter for water intrusion, an infrared thermometer for insulation and HVAC checks, and an outlet tester for electrical spot-checks — or buy them together in a home inspection tool kit. For the full picture of what an inspector looks for beyond the walls, see home inspection 101.
Frequently asked questions
Do stud finders work on plaster walls?
Poorly, for most electronic models: the wooden lath behind plaster reads as dense material everywhere, so the finder beeps constantly. A magnetic finder, which locates the fasteners instead, usually works better on plaster, and a radar wall scanner is the premium option. If your house is plaster, buy the magnetic finder first.
How far apart are studs?
Usually 16 inches on center in load-bearing walls, sometimes 24 inches in non-load-bearing walls and newer construction. Measure from a confirmed stud to predict the next one, then verify with a scan rather than trusting the measurement alone.
Can a stud finder detect pipes and wires?
Some can: multi-mode finders detect metal and live AC wiring, and radar scanners image pipes and wires directly. A basic density-only finder cannot tell a pipe from a stud — which is why the wire-warning feature matters when you drill near kitchens and bathrooms.
Why does my stud finder beep everywhere?
Almost always a calibration problem: it was calibrated over a stud, over a metal corner bead, or while moving. Re-calibrate on a flat, empty stretch of wall, hold still until ready, and scan slowly. If it still beeps everywhere, try a different wall section — dense plaster or foil-backed insulation can defeat density sensors.
Is a magnetic stud finder enough on its own?
For occasional hanging, yes: it finds fasteners reliably and never needs batteries. Its limits are speed (you scan for each screw) and precision (a screw marks a point on the stud, not its edges). Pair it with an electronic finder if you hang things often, or use it alone if you hang things rarely.